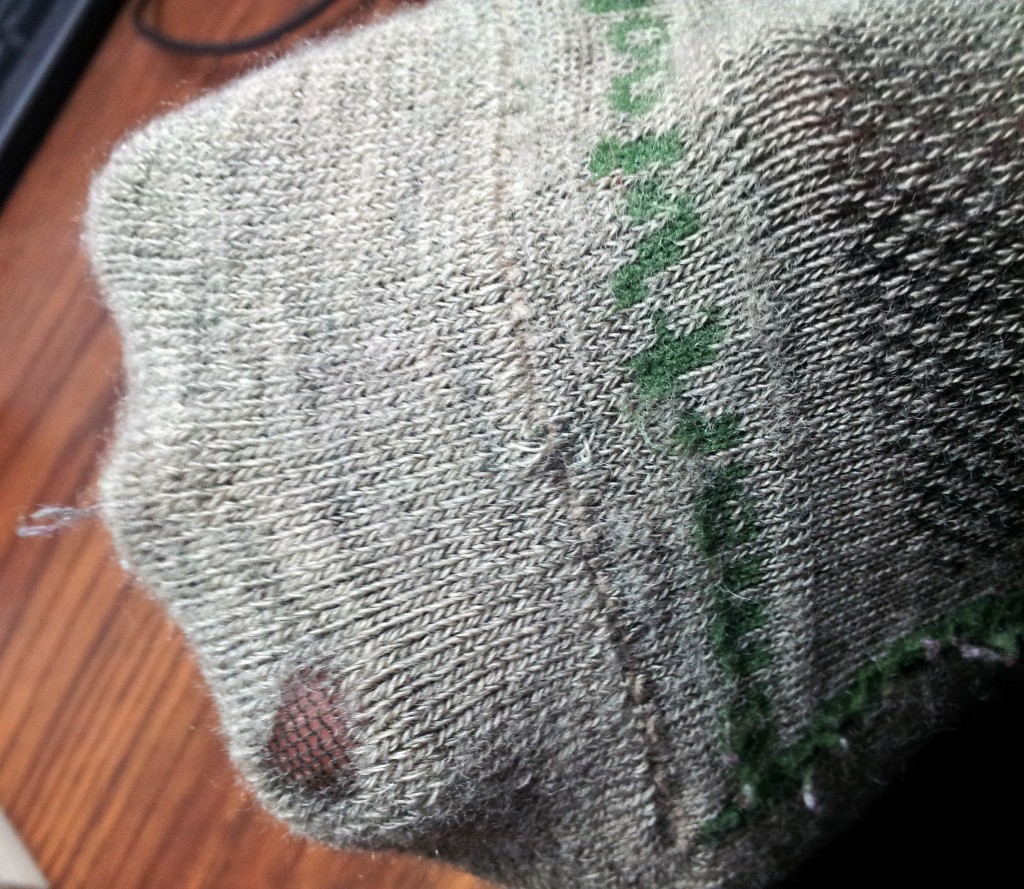
 You own the world’s best socks and they are beginning to show some wear and tear. Wouldn’t it be nice if your favorite Smartwool socks lasted just a little bit longer?
In this picture article, I hope to show you how you can salvage your socks and make them last a bit longer. Smartwool and Icebreaker are excellent clothing companies and you pay a premium for THAT excellent quality. Over time, your know your socks or other merino gear will show some 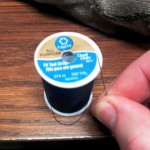 wear, especially if you are outside on a frequent basis. So, for a moment, let’s refer to the old saying that our grandmothers taught us: “a stitch in time saves nine.” Repairing your merino clothing now, or right when you spot a hole or a spot that is wearing thin, will save you a bigger repair and will extend the life of your favorite and probably expensive merino gear.
In the first picture above, you can see where my toe is beginning to wear a thin spot in my Smartwool socks. I choose some black cotton multipurpose thread(1) and a just a regular sewing needle I took from my daughter’s sewing basket.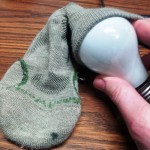
Next, I found an old light bulb and inserted it into the Smartwool sock. The bulb makes the sewing just a little bit easier. I did turn the sock inside-out for the repair process. I’ve heard that you can make sock repair on either the inside or outside. You decide.
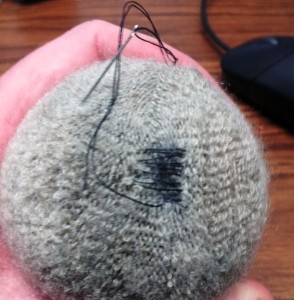
In the first pass I made, notice that I just have loops of thread. I did not remember to weave the first pass. It is not a big deal to me, and the repair came out fine. Do not be afraid of making a mistake. I could have cut out the threads and started over; but I am okay with testing out this method to see how it looks and how long the repair holds.
In the second pass, I made the stitches at 90 degrees to the first pass. Notice how I have weaved the sewing needle through the sock and through the stitches I made in the first pass. This is what makes the repair strong. After a number of stitches in this plane, I just “free-sewed” and made the repair look tidy. There are no rules here, just go for it. You really can’t mess it up.
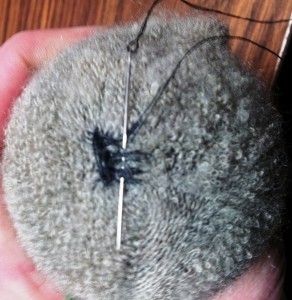
Because the weaving is so tight, I just hid the tail of the thread and did not bother with knotting the end. It will hold. Here is the view looking at the stitching on the inside of the Smartwool sock.
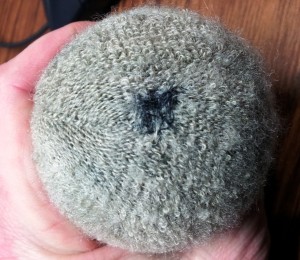
And here is the view looking at the stitching on the outside of the Smartwool sock.
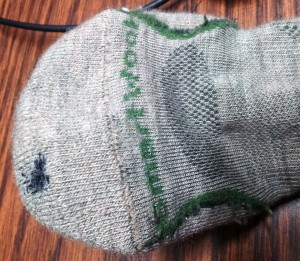
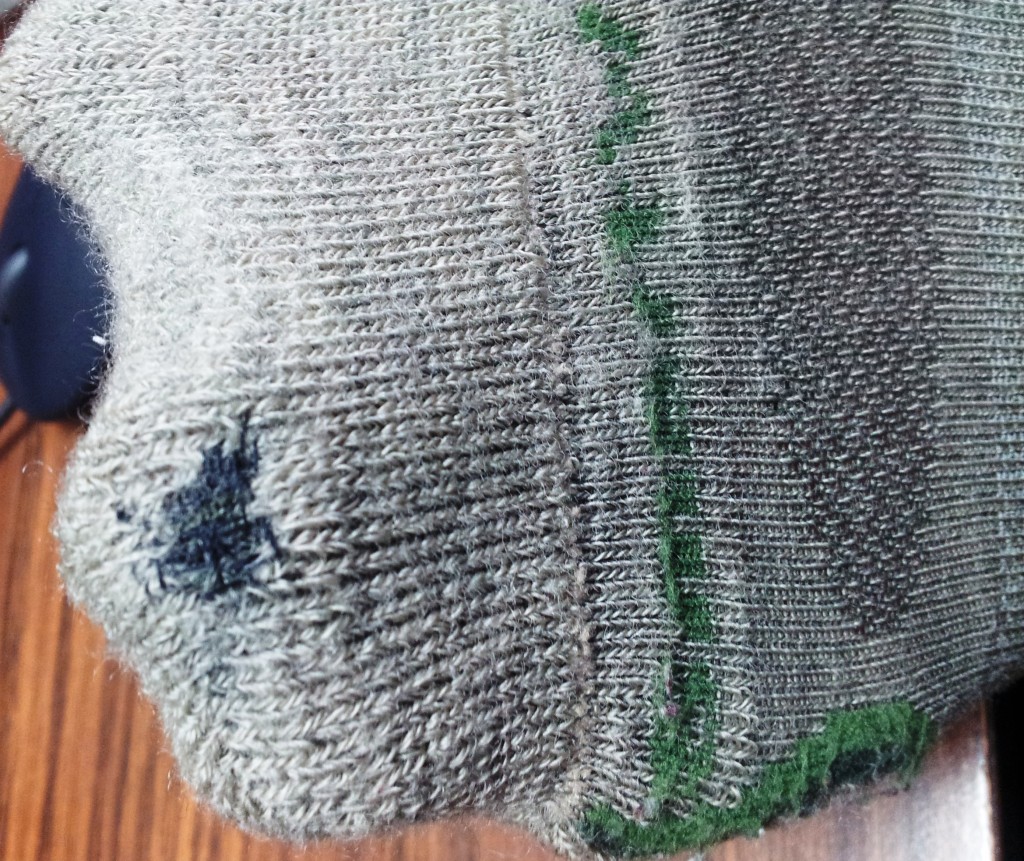
And one more view, closer up:
(1)I happened to ask Icebreaker if they had a repair kit, and even though they do not, the gal suggested that many other Icebreaker customers use any thread to make repairs. She also referred me to this article about darning: MAKE | Darn It!
Want more instructions about Repair and Maintenance of your Icebreaker Clothing? Try this video that shows you how to replace a button on an Icebreaker Polo Shirt: